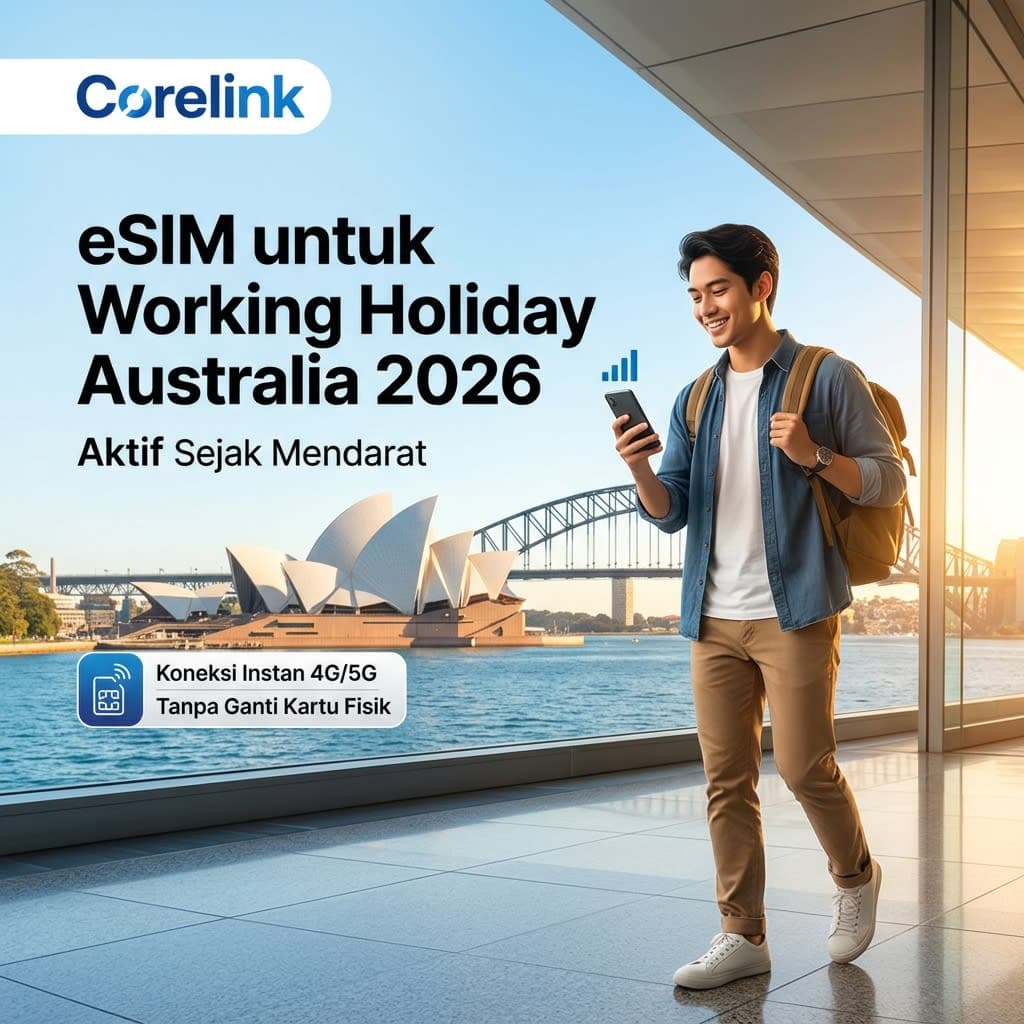
Use this guide as a practical setup checklist, not as visa, employment, financial, or carrier-policy advice. Rules and individual requirements can change. Before purchase, confirm the current product details on the live Australia eSIM plans page, including the plan’s coverage, data allowance, validity, and instructions.
Plan connectivity for the arrival period first
The first task is to get through the arrival period without depending on airport Wi-Fi. List the things you will need before you have a settled routine: accommodation directions, transport, maps, contact with family, recruiter or host messages, and booking confirmations. This helps you choose a travel-data period that covers the arrival and setup phase instead of guessing from a normal holiday itinerary.
Keep the plan decision separate from your longer-term local service decision. A travel eSIM may be useful while you compare local options later, but do not assume it replaces every kind of mobile service or that all plans have the same calling, messaging, hotspot, coverage, or renewal features. Read the current plan details and choose based on the work, travel, and communications you actually expect.
Check compatibility, unlock status, and the primary line
Your phone must support eSIM, and it may need to be unlocked for another carrier. Support varies by the exact model, country of purchase, operating-system version, and carrier. Confirm the device before you buy through its settings and manufacturer documentation; our eSIM compatibility guide is a useful starting point.
Many people keep their Indonesian SIM active while the travel eSIM provides data. That can preserve access to a familiar number, but it is not a guarantee that each call, SMS, account verification, bank code, or app will work while abroad. The outcome depends on the carrier, device, security rules, signal, and your line settings. Test critical accounts before departure and arrange another verification route if one is available.
Install the travel eSIM before you leave Indonesia
Where the plan instructions permit, add the eSIM while you have stable Wi-Fi and time to read every step. Save the QR code or other activation information securely. Do not remove the eSIM profile or discard its details until you have finished the trip and no longer need to troubleshoot it.
- Review the live plan details and installation instructions.
- Connect to Wi-Fi and add the eSIM by the supplied QR code, link, app, or manual method.
- Give the lines clear names: for example, “Indonesia primary” and “Australia travel data.”
- Select the travel eSIM as the mobile-data line when your journey begins.
- Disable data roaming on the primary line unless you have intentionally selected and understand your home-carrier roaming option.
- After you arrive, wait for registration and test maps or a basic web page before travelling onward.
iPhone and Android menus differ, and software updates can move options. Look for cellular, mobile-data, network, or SIM-manager settings, then follow the support instructions for your exact handset. The important part is the result: you can identify both lines and know which one supplies mobile data.
Protect the data line from accidental switching
Check which SIM the phone is using for data before leaving Wi-Fi. Some phones offer automatic data switching; turn it off if you do not want the primary line to take over when the travel eSIM is weak or reconnecting. Review data-roaming settings on both lines after a system update, a restart, or an airport arrival. A clear label makes this much easier when you are tired after a long flight.
Set a data-usage warning and control background activity. Automatic photo backup, software updates, app downloads, video calls, and hotspot sharing can use data quickly. Download offline maps, travel documents, address screenshots, and important messages while you still have Wi-Fi. These precautions reduce dependence on a perfect signal and help you understand data use without assuming a particular plan limit.
Use a practical arrival checklist
- Save your accommodation address, check-in instructions, and emergency contact information offline.
- Download maps for the airport, accommodation, and the first places you must visit.
- Keep a charging cable and power bank in accessible luggage.
- Record the travel eSIM support path and keep the setup details private but available.
- Test a map, message app, and the essential account logins before relying on the connection.
Coverage and service quality can vary by location, terrain, buildings, local-network conditions, device configuration, and plan. A connection that works well in a city centre may behave differently during regional travel. Offline preparation remains useful even when your data connection is working normally.
Travel between Australia and New Zealand only with confirmed coverage
Some working-holiday travellers add a New Zealand trip before, during, or after their time in Australia. Do not assume a plan for one country works in the other. If both countries are on your route, inspect the current Australia and New Zealand eSIM plan coverage details and confirm that the exact option lists every destination you need.
Frequently asked questions
Can a travel eSIM be used while I look for a longer-term Australian mobile option?
It can provide travel data during the arrival period when the plan and your device support the setup. Check current plan validity and features, then decide separately how you will meet any longer-term needs.
Can I keep the Indonesian line active?
Many compatible, unlocked phones can use a primary SIM with a travel eSIM. Use the travel line for mobile data and check the home carrier’s international settings. Critical calls, messages, and account codes are not guaranteed, so test and prepare backups.
When should I turn on the travel line?
Install in advance if the provider instructions allow it, then follow those instructions for activation and travel-line settings. Test the connection after arrival before you depend on it for onward travel.
Confirm plan details, then travel with a backup
A reliable start comes from preparation: check the phone, install with Wi-Fi, name both lines, select the travel line for data, and save essentials offline. Confirm the live Australia eSIM plan details before purchase, and only choose a combined Australia–New Zealand option when its current coverage explicitly fits your journey.